Navigating between forms using a Card display in Oracle APEX enhances user workflows by allowing quick transitions from one data entry screen to another. With Cards, you can present key summary information for each record and embed navigation controls—such as buttons or clickable headers—that redirect users to the appropriate form page. This technique streamlines data management tasks, enabling users to select a card and immediately open a related form pre‑populated with the card’s record identifier.
In Oracle APEX, you can configure a Cards region so that clicking on a card navigates users from one form to another, passing the appropriate record identifier. Follow these steps:
-
Prepare Both Forms
• Ensure you have two form pages: the source form (where the Cards region lives) and the target form (where you edit or view the record).
• On the target form page, create a page item (e.g., P10_RECORD_ID) bound to the primary key column of your table. -
Create or Edit the Cards Region
• In Page Designer, open the source form page.
• Under Regions, select your Cards region (or create one based on a SQL query that returns your records).
• Make sure your SQL returns a unique identifier column (ID) and any display columns (e.g., TITLE, SUBTITLE). -
Configure the Card Link
• In the Cards region’s Attributes pane, find Link Column and set it to the unique identifier column (e.g., ID).
• Scroll to the Link section:
– Page: enter the target form’s page number (e.g., 10).
– Set Items: enter the target page item name (e.g., P10_RECORD_ID).
– With Values: enter the substitution syntax for the Link Column, e.g.#ID#.
This tells APEX to redirect to page 10 and set P10_RECORD_ID = current card’s ID. -
Choose Link Appearance
• Still under Link, set Link Text if you want a button or label on the card (e.g., “Edit”).
• If you leave Link Text blank, the entire card becomes clickable. -
Optional: Open as Modal Dialog
• If you prefer a popup form, set Target > Page Mode to Modal Dialog.
• Configure Dialog attributes (size, title) under the target page’s Dialog settings. -
Test the Navigation
• Save and run the source page.
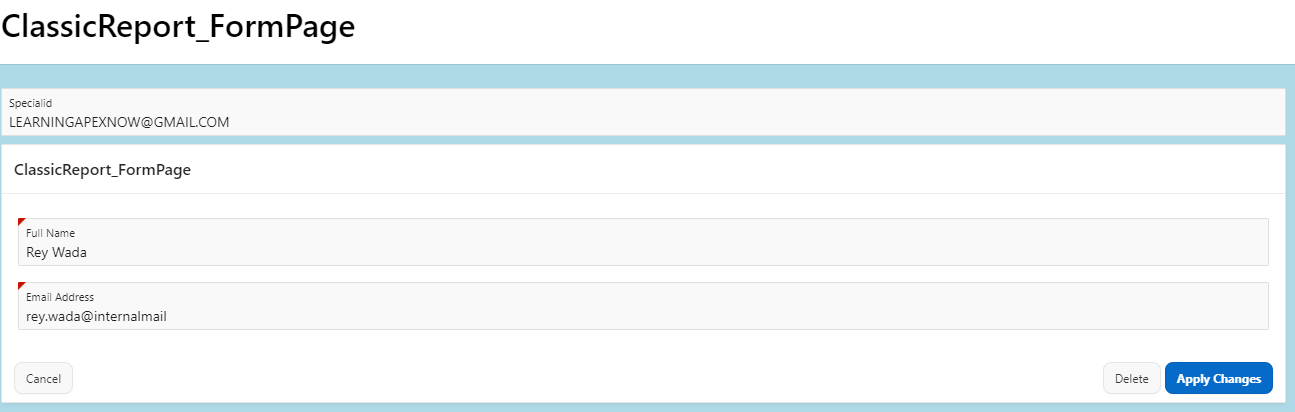
• Click a card (or its Edit button). You should be taken to the target form with P10_RECORD_ID populated.
• Verify the form loads the correct record for editing or viewing.
By mapping the Cards region’s Link settings to your form page and passing the record ID, you enable seamless navigation between forms using a modern card interface.
Example
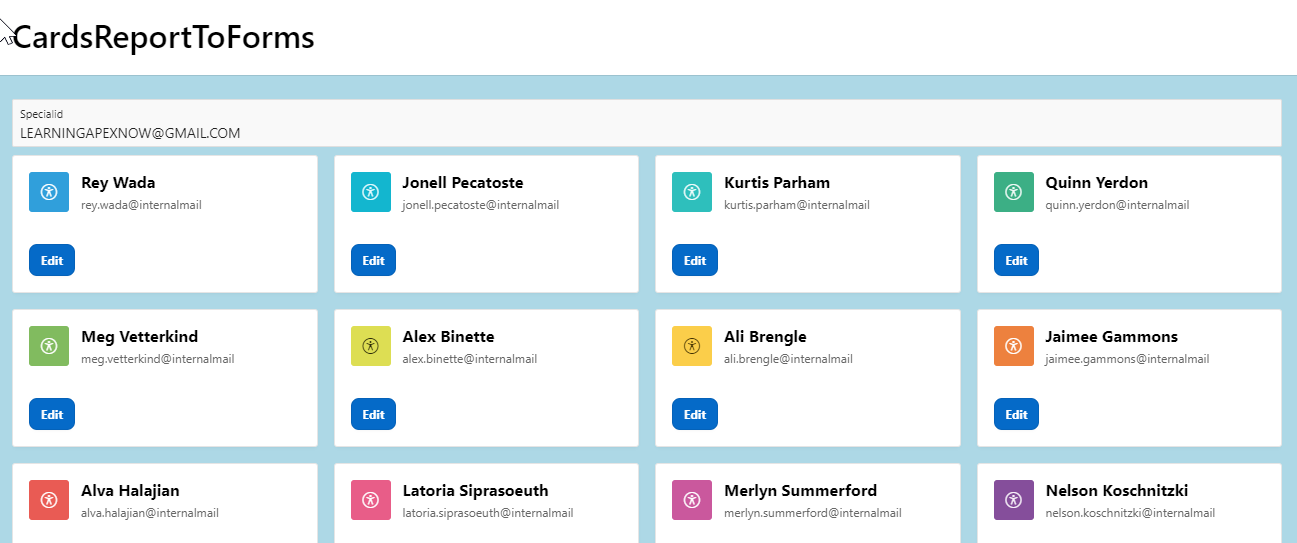
Navigating Between Forms Using a Card Display in Oracle APEX
Oracle APEX allows users to create Card Reports, which provide a structured way to display data visually. You can enhance these cards by adding navigation functionality, allowing users to click on a card and be redirected to another form where they can view or edit details.
This tutorial covers how to set up a Card Report that navigates from one form to another.
Step 1: Creating the Source Form
Before setting up the navigation, ensure you have a form page that will serve as the destination.
Open Oracle APEX and navigate to your application.
Click Create → Page → Form → Form on a Table or View.
Select the table that contains the records for your cards.
Ensure the form includes a Primary Key item (e.g., ID).
Click Next, configure any additional settings, and create the page.
Once the form is created, note the Page Number because you will need it to configure the navigation from the Card Report.
Step 2: Creating a Card Report
Open Oracle APEX and navigate to your application.
Click Create → Page → Report → Cards Report.
Choose the same table or SQL query as the form’s data source.
Click Next, then select the Card Attributes such as Title, Body, and Image (optional).
Click Create to generate the page.
Now you have a Card Report displaying records from your table.
Step 3: Adding Navigation to the Card
Method 1: Using the Card Action Attribute
Open the Card Report in Page Designer.
Select the Cards Region in the Rendering Tree.
Under the Attributes section, locate the Actions option.
Click Add Action and choose Link.
In the Action Type, select Redirect to Page in this Application.
In Target Page, enter the page number of your Form Page.
In the Set Items section, map the primary key (ID) from the card to the form item:
Item Name: PXX_ID
Value: #ID#
Click Save and run the page to test the navigation.
Now, when a user clicks on a card, they will be redirected to the Form Page, with the selected record preloaded.
Method 2: Adding Navigation Using a Custom SQL Query
If you are using a Custom SQL Query for the Card Report, you can add a navigation link directly within the SQL.
Open the Cards Report in Page Designer.
Modify the SQL Query to include a dynamic link column:
SELECT
ID,
TITLE,
DESCRIPTION,
IMAGE_URL,
'f?p=&APP_ID.:20:&SESSION.::NO::P20_ID:' || ID AS ACTION_LINK
FROM EMPLOYEES
In Card Attributes, set Action Type to Link and choose ACTION_LINK as the URL Column.
Click Save and test the navigation.
This method ensures that clicking on the card redirects the user while dynamically passing the selected record’s ID to the Form Page.
Step 4: Styling and Enhancing the Card
To make the card look more interactive, apply custom CSS.
Go to Shared Components → Themes → Custom CSS.
Add the following CSS:
.t-Card-actions a {
background-color: #0073e6;
color: white;
padding: 8px 12px;
border-radius: 5px;
text-decoration: none;
display: inline-block;
}
.t-Card-actions a:hover {
background-color: #005bb5;
}
Save and refresh the page.
This makes the button inside the card more visually appealing.
Step 5: Testing and Best Practices
Run the application and navigate to the Card Report page.
Click on any card to verify that it redirects to the Form Page with the correct data preloaded.
If the form does not show data, ensure that the Page Item (PXX_ID) is properly mapped.
For better performance, limit the number of cards displayed per page.
Use item substitution to pass additional values if needed.
By following this tutorial, you can create an interactive Card Report that allows users to click on a card and navigate to a Form Page to view or edit details. Whether using Card Actions, Custom SQL Links, or Dynamic Styling, this method enhances the user experience in Oracle APEX.
EXAMPLE:
Cards don’t have links but they can have Actionbuttons.
Step 1 – Create a Card report for the CUSTOMER table
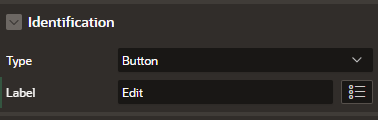
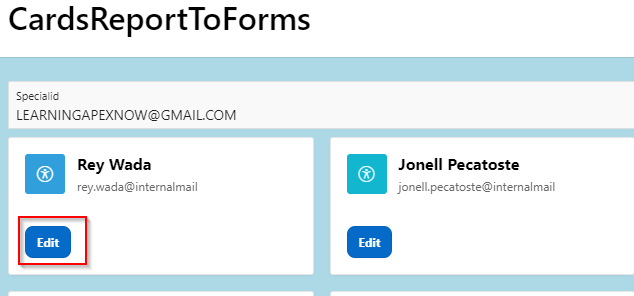
Step 2- Add an action to the CARD region, make it a Type: Button, and name it Edit

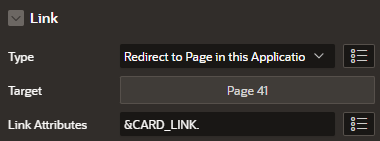
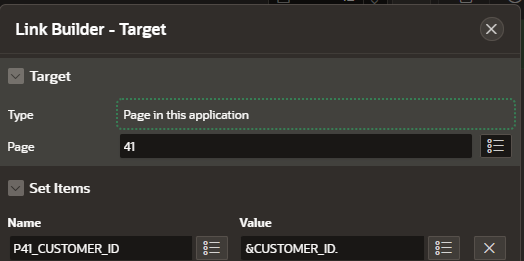
Step 3 - Create link to page 41 and pass the correct values
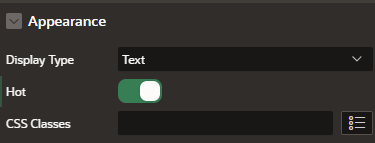
Step 4- change the button’s appearance if you need to
Save and Browse
By configuring each Card’s Link attributes to target the desired form page and passing the necessary item values (for example, record IDs), you create a seamless navigation experience. Users can move directly from a high‑level overview to detailed forms without manual URL entry or multiple clicks. Implementing this pattern in your APEX application not only improves efficiency but also provides a polished, intuitive interface for managing related data across multiple forms.


