Adding Items to the Navigation Bar in Oracle APEX
The Navigation Bar in Oracle APEX is controlled by a List found in Shared Components. You can add new entries to the Navigation Bar to include links to profile pages, logout functionality, help documentation, or any other relevant pages.
Step 1: Create a New List Entry
Open Your Application
Go to App Builder and select your application.
Access Shared Components
Click Shared Components on the Application Home page.
Locate the Navigation Bar List
Under Navigation and Lists, select Lists.
Find the Navigation Bar list (usually named "Navigation Bar" or similar).
Open the List Editor
Click the Navigation Bar list to edit its entries.
Step 2: Add a New Navigation Bar Entry
Click Create List Entry.
Enter List Entry Details:
Label – The text that will appear in the Navigation Bar (e.g., Profile, Logout, Help).
Target – Specify where the entry should link to:
Profile Page: f?p=&APP_ID.:100:&SESSION. (Replace 100 with the actual page ID).
Logout: &LOGOUT_URL. (Logs out the user).
Help Page: https://yourdomain.com/help.
Icon – Assign an appropriate icon (e.g., fa-user, fa-sign-out-alt, fa-question-circle).
Condition – Set visibility conditions if needed (e.g., show only when the user is logged in).
Click Create to save the new Navigation Bar entry.
Step 3: Review the Navigation Bar List
Once created, the new entry appears in the List Editor alongside existing items. You can:
Reorder items by dragging them into the preferred sequence.
Modify or Delete entries as needed.
Apply Conditional Display Rules to show or hide entries based on user roles or authentication status.
Finalizing Changes
Save all modifications in the List Editor.
Run your application to confirm that the new Navigation Bar entry appears as expected.
By following these steps, you can easily customize the Navigation Bar to improve user experience and navigation within your Oracle APEX application.
EXAMPLE:
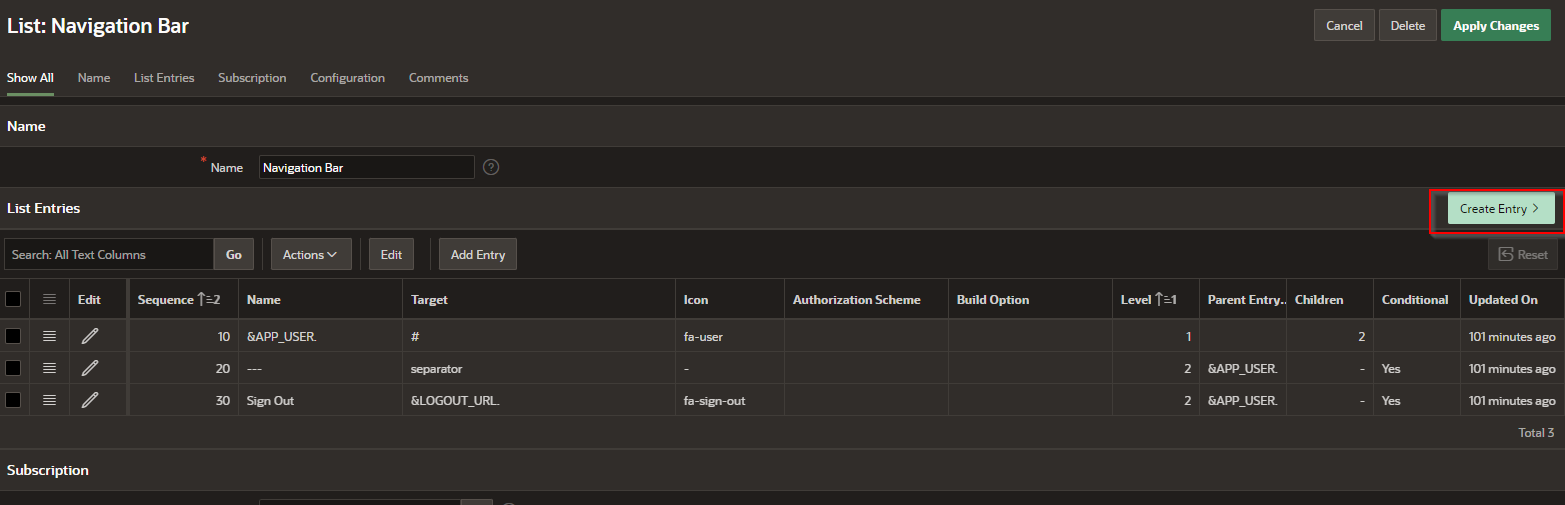
Step 1 – Create a new Entry
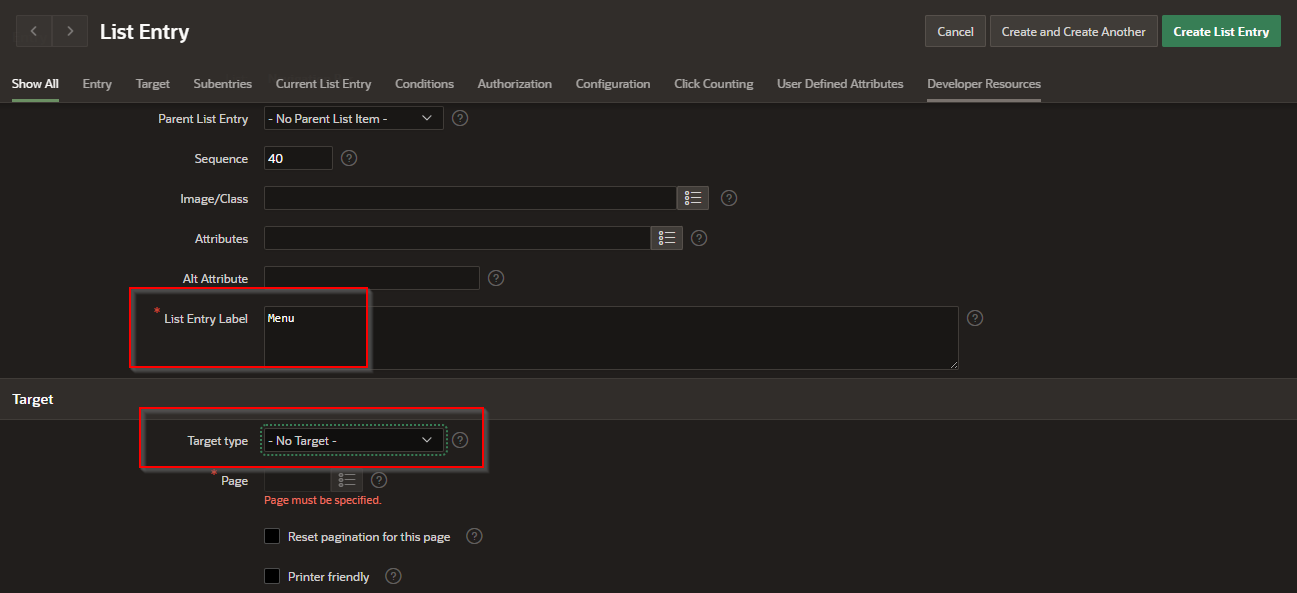
Step 2- create the bar entry.
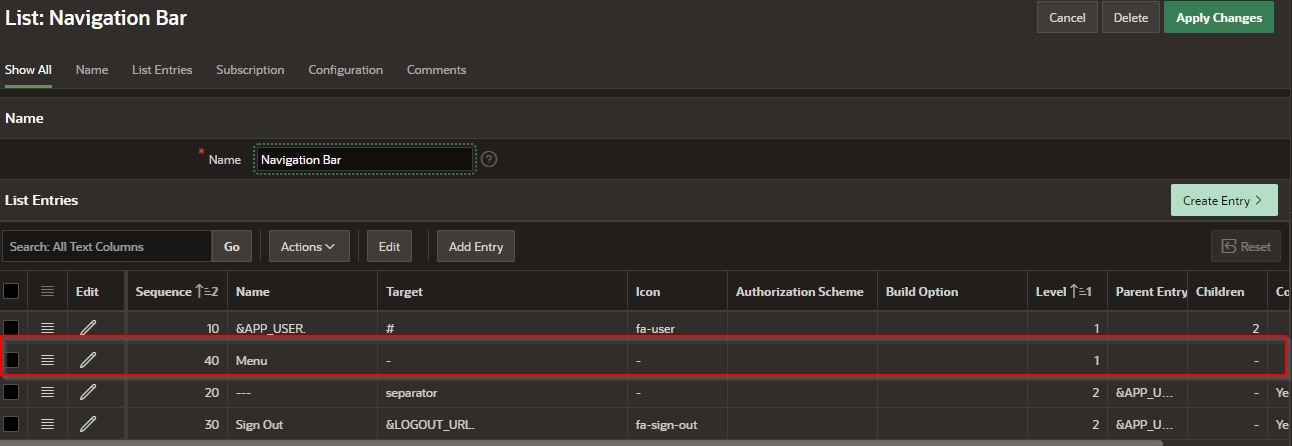
This is how it looks in the list.
The final result:


