In Oracle APEX, sharing images across your entire application can enhance visual consistency and streamline development by centralizing commonly used visual assets like logos, icons, or branding elements. Instead of uploading the same image multiple times on different pages, Oracle APEX provides a structured way to store and reference shared images using Static Application Files or Workspace Files. This approach makes it easy to update or replace images in one location while having them automatically reflected across all relevant parts of your application.
To add an image for sharing across your Oracle APEX application, you should use Static Application Files. These files are stored at the application level and can be used throughout any page or component without needing to upload the same image multiple times. This method ensures consistency and simplifies maintenance when the image needs to be updated later.
Here are the detailed steps:
-
Open Your Application in APEX:
Navigate to the Application Builder and select the application where you want to add the shared image. -
Go to Shared Components:
In the application home page, click on Shared Components. This section includes various resources shared across the application. -
Access Static Application Files:
Under the User Interface section, click on Static Application Files. -
Upload Your Image:
Click the Upload File button.-
Click Choose File and select the image file (JPG, PNG, SVG, etc.) from your computer.
-
Optionally, enter a custom file name.
-
Click Upload to store the image in the application repository.
-
-
Reference the Image in Pages or Regions:
Once uploaded, the image can be referenced using a substitution string. Use this syntax:#APP_IMAGES#your_image_name.jpgFor example, in a region's HTML Expression or in a Static Content region, you might use:
<img src="#APP_IMAGES#logo.png" alt="Company Logo"> -
Use in Templates or Dynamic Components:
The same image path can be used in card templates, report templates, plug-ins, or even JavaScript logic. Just remember to use the#APP_IMAGES#substitution to point to the static image. -
Update Image Later if Needed:
If you ever need to replace the image, return to Static Application Files, delete the old version (or upload a new one with the same name), and it will automatically update wherever it’s referenced.
This method centralizes image management and ensures a single source of truth for shared visual elements across the application, enhancing maintainability and visual consistency.
How to Add an Image for Sharing Across Applications in Oracle APEX
Adding an image for use across multiple applications in Oracle APEX ensures consistency and easy management of visual elements like logos, icons, and banners. Oracle APEX provides different ways to store and access images globally, making them available for all applications in a workspace.
1. Using Workspace Static Files for Global Image Access
Workspace static files allow images to be stored once and used across all applications within the same workspace.
Steps to Upload an Image to Workspace Static Files
Navigate to App Builder and click on Workspace Utilities.
Select Static Files under Workspace Utilities.
Click Upload File, then choose the image file from your computer.
After uploading, APEX will generate a file URL in the format:
#WORKSPACE_FILES#image_name.png
Copy this file reference to use in any application within the workspace.
Using the Image in an APEX Page
For an HTML region
<img src="#WORKSPACE_FILES#image_name.png" alt="Shared Image">
For a CSS Background Image
body {
background-image: url('#WORKSPACE_FILES#image_name.png');
background-size: cover;
}
For a Page Item (Display Image Type)
Add a Display Image item to the page.
Set the Image URL to:
#WORKSPACE_FILES#image_name.png
This ensures the image is available in any application within the workspace without needing to upload it multiple times.
2. Using a Shared Database Table for Image Storage
For more control over images, store them in a shared database table that can be accessed across applications.
Creating a Table for Image Storage
Run the following SQL to create a table for storing images:
CREATE TABLE SHARED_IMAGES (
IMAGE_ID NUMBER GENERATED BY DEFAULT AS IDENTITY PRIMARY KEY,
IMAGE_NAME VARCHAR2(100),
IMAGE_BLOB BLOB,
MIME_TYPE VARCHAR2(50)
);
Uploading an Image Using an APEX Form
Create a new APEX File Browse item for image uploads.
In the process handling the upload, insert the image into the table:
INSERT INTO SHARED_IMAGES (IMAGE_NAME, IMAGE_BLOB, MIME_TYPE)
VALUES (:P1_IMAGE_NAME, :P1_IMAGE_FILE, :P1_MIME_TYPE);
Displaying the Image in Any Application
Create an Application Process or RESTful Web Service to serve the image.
In any APEX page, reference the image dynamically using:
<img src="f?p=APP_ID:0:SESSION::NO::P0_IMAGE_ID:1" alt="Shared Image">
This allows applications to fetch and display shared images stored in the database.
3. Using a CDN or External Storage for Images
If images need to be accessed across multiple workspaces or environments, use an external CDN (Content Delivery Network) or cloud storage service like:
Oracle Cloud Object Storage
Amazon S3
Google Drive (public links)
Referencing External Images in APEX
For an Image Tag in a Page Region
<img src="https://cdn.example.com/images/logo.png" alt="Company Logo">
For a CSS Background Image
body {
background-image: url('https://cdn.example.com/images/background.jpg');
background-size: cover;
}
Using external storage ensures that images are accessible from multiple workspaces or even different APEX environments.
Oracle APEX provides several ways to store and access shared images across applications:
Workspace Static Files for quick and easy access within a workspace.
Database Storage for controlled access with dynamic retrieval.
External Storage or CDN for global access beyond APEX.
The best approach depends on your application's needs and how frequently the images are updated. Workspace files are best for simple use cases, while database storage and CDN solutions provide more flexibility for enterprise applications.
EXAMPLE:
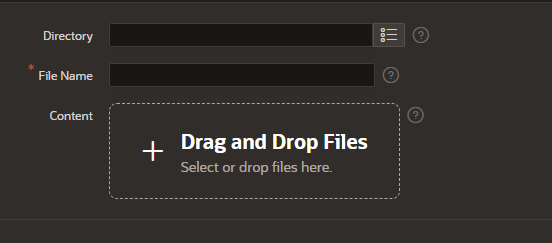
Step 1 Create a file in Shared Components > Static Application Files

Step 2 – Add the name and drag and drop the image
Step 3 – Image is ready
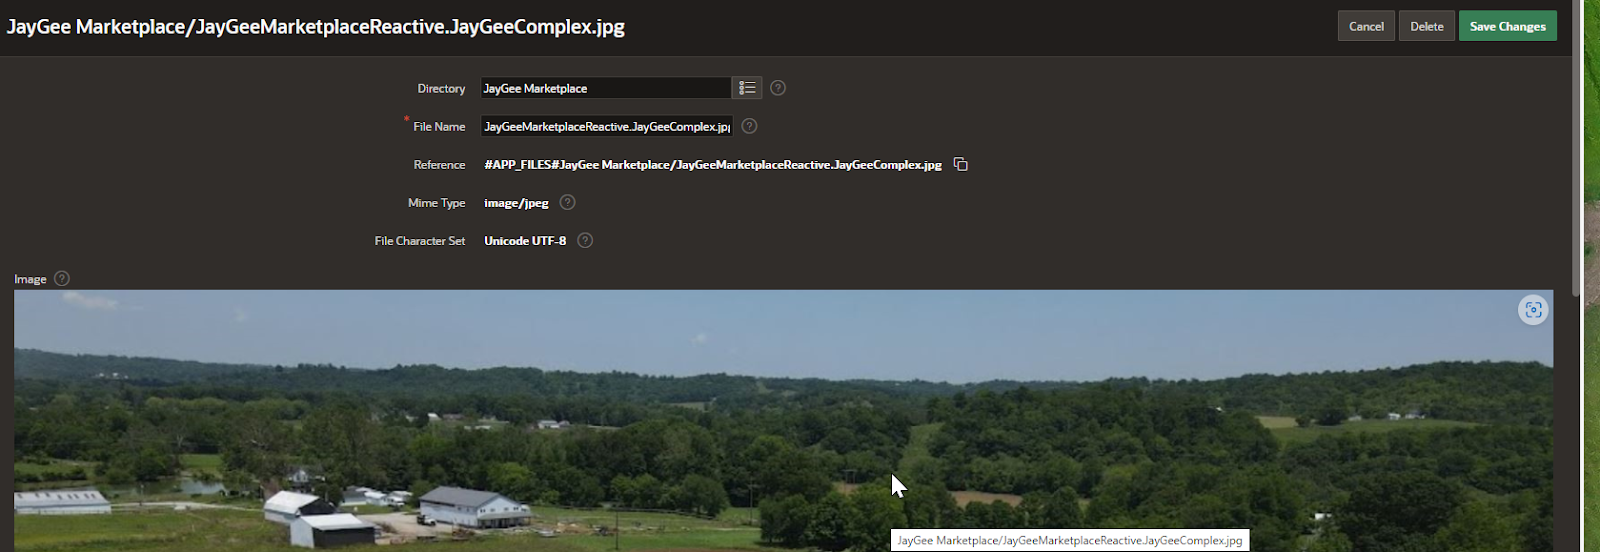
In Shared Components Static > Application Files >


